Happy Sunday!
Today is about X'mas Glitter Gradient Nail tutorial that I mentioned earlier ago..
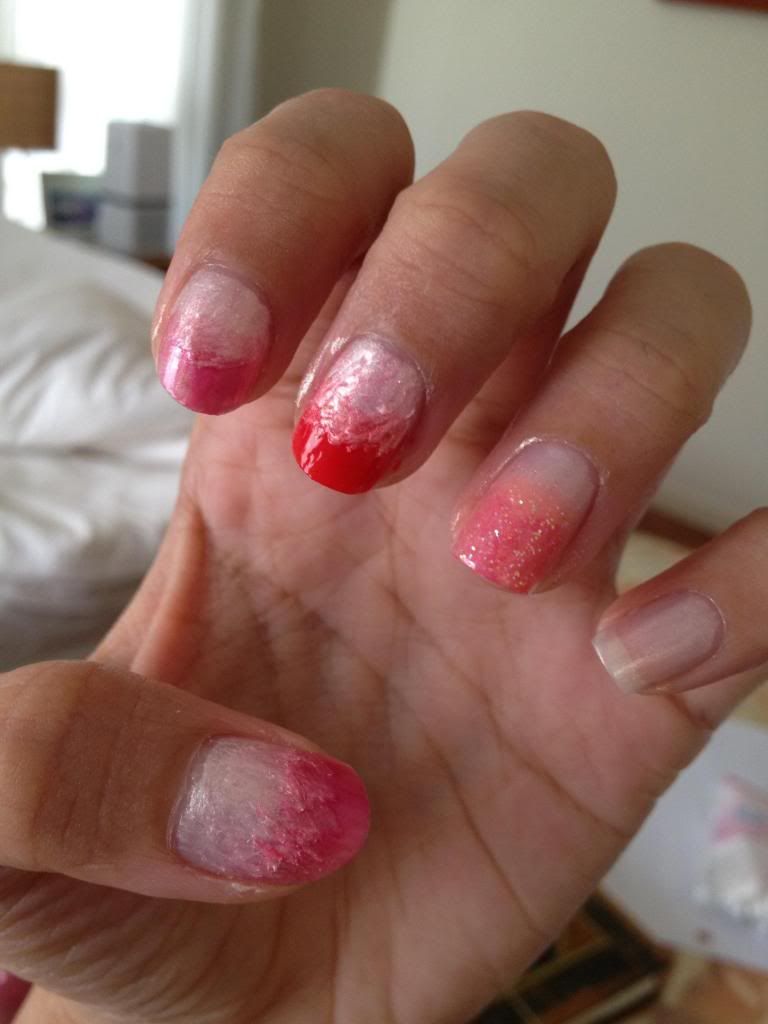
Previously I have done some trials on myself, wah, damn ugly! Shown in the last picture in this post! XD
Since this is a X'mas nail design so I assumed I should post it before X'mas! Lol..
The material which is needed to create this glitter nail is selling everywhere in market, if you don't like the colour that I mixed perhaps you can design the colour according to your preference. :-)
I didn't shop intentionally to buy new nail polish to do this post, I am just using the existing one.
Tips: Best to use colours that work naturally as a gradient.
Material needed:
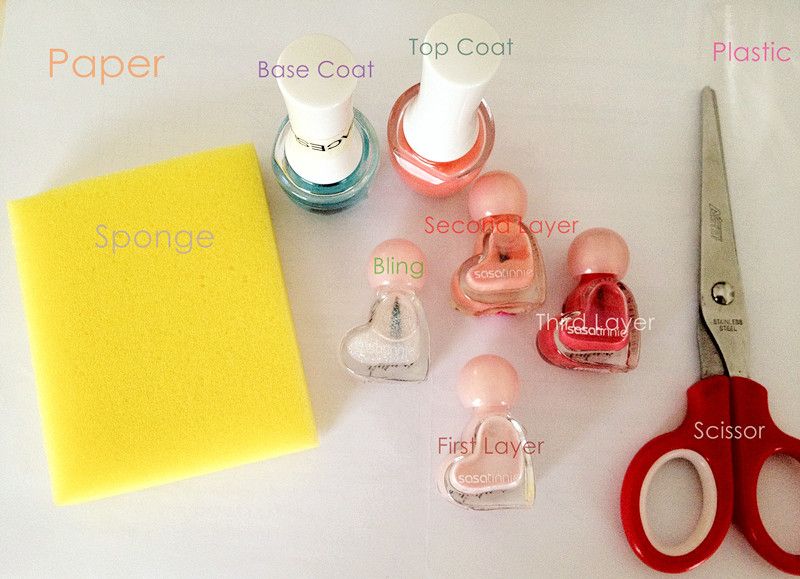
1. Paper. It is to make sure the colour won't stain on your table.
2. Kitchen sponge. Those kitchen sponge that you used to wash your dishes.
3. Scissor. Used it to cut the sponge into smaller pieces.
4. Plastic. A small one will do. I cut it from those unused plastic or the book wrapping plastic.
5. Clear Base Coat.
6. Clear Top Coat.
7. First layer is colour which is very near to nude pink colour.
8. Second layer is similar to orange colour.
9. Third layer I should said a darker pinkish colour.
10. Bling. The sparkle overcoat.
We need more nail polish to create the gradient texture. :-)
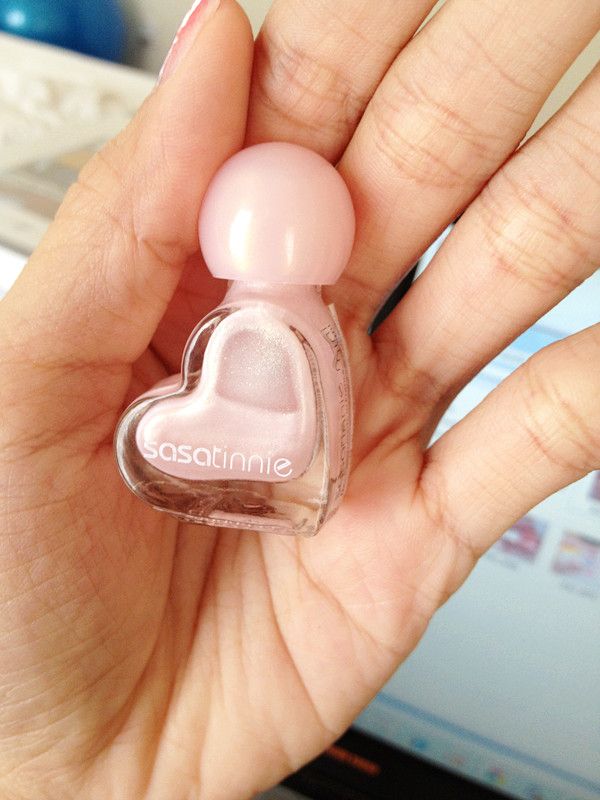
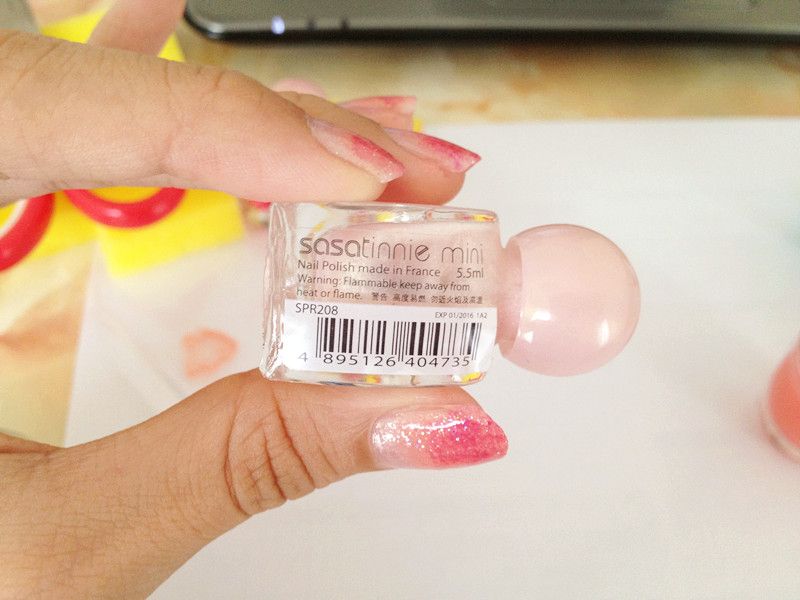
I am using all nail polish from Sasa that I have bought for some time, later I will tell you why I choose Sasatinnie instead of other brand.
p/s I can't tell you exactly what number or code because it is not stated in the bottle. Anyway I bought it from Sasa outlet. :-)
Time to start it.
Firstly, I am going to apply clear base coat to keep the colour coat from staining my nails. Then apply this Sasatinnie nail polish as the very first layer. As I said it is very near to nude pink colour. :-) Very cute and small bottle.
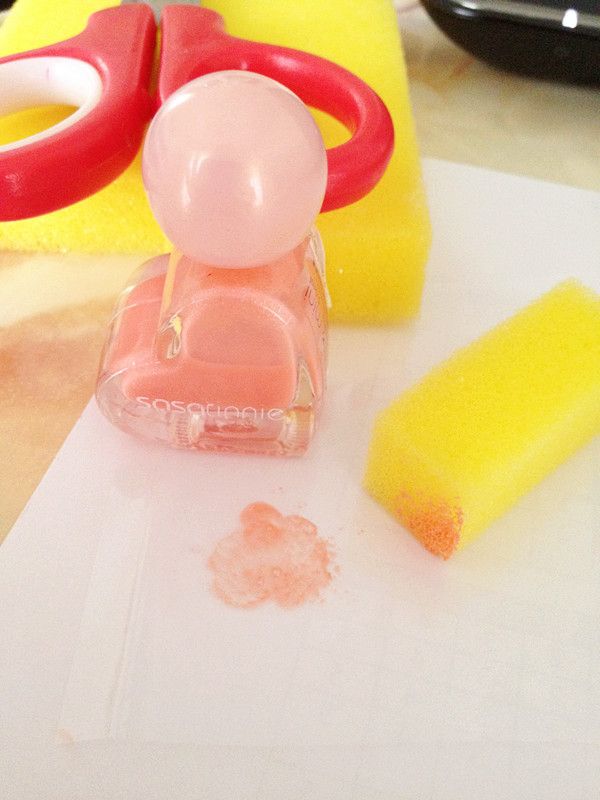
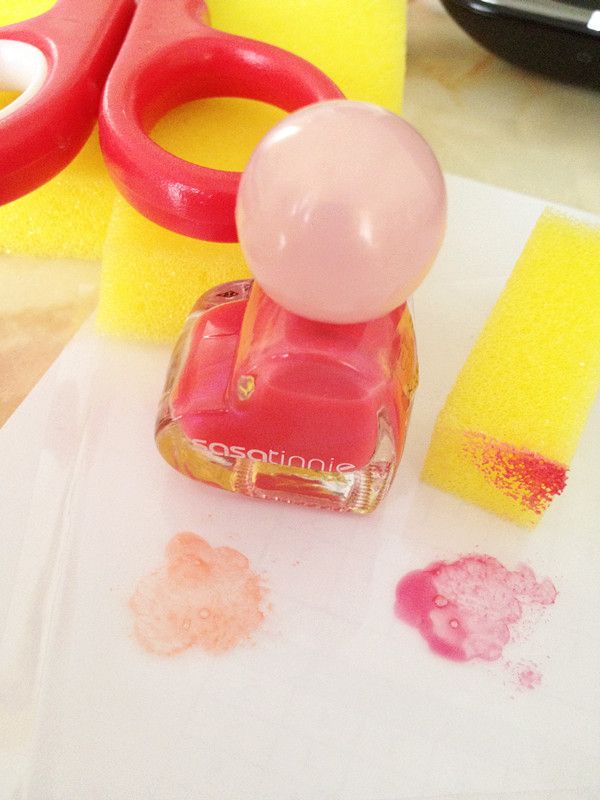
I am going to stamp the second layer nail polish using the kitchen sponge. Apply some colour on the plastic then use the sponge to dip it. The reason I am using plastic instead of paper is because paper could easily absorb the colour. Obviously you have to cut the sponge into smaller pieces where you can hold it easily.
Bare in mind before you apply the next layer, you must make sure the colour is dry if not it will smear then you can hardly create the gradient already. Don't paint too much cz the colour will be very dark.
This colour is similar to very light orange, with some glittering on it.
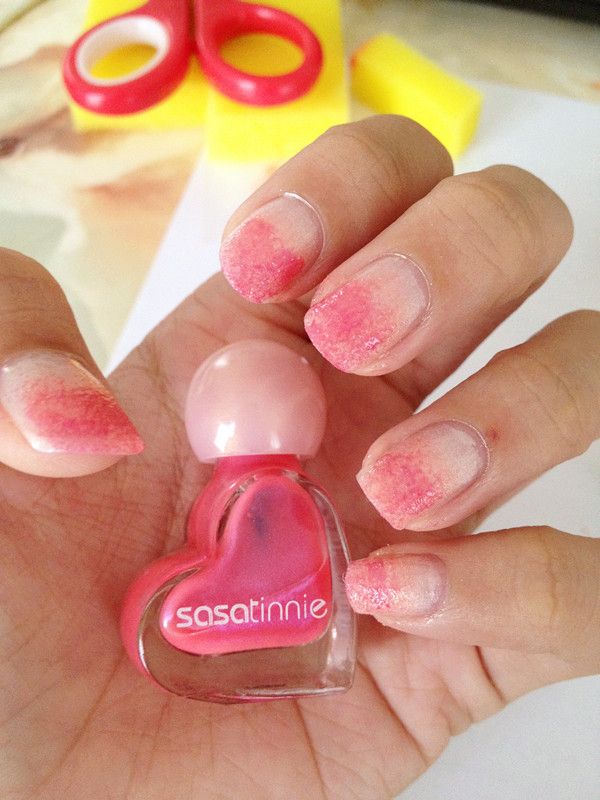
Third layer would be the same procedure. Paint it gently with sponge. To me, I think the lighter the colour, the nicer it is. If it is too dark, then it turns red without creating the gradient texture already.
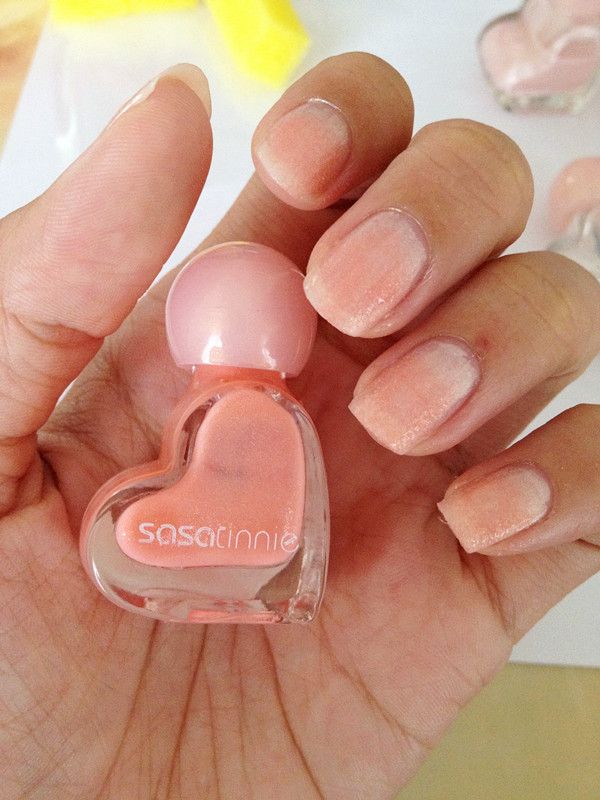
Tadaa! It looked like this! I still think the colour is too dark..so you can see there are three colours! :-)
But without glittering, it don't looks good!
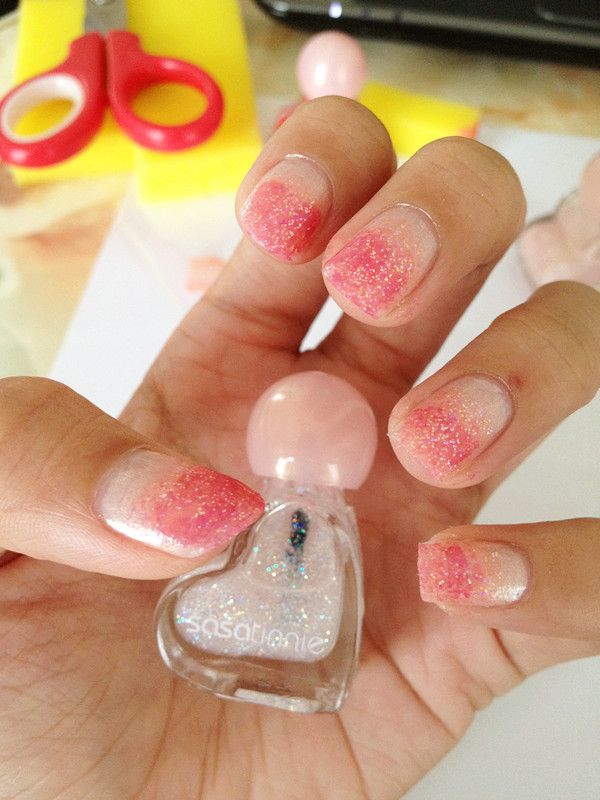
Spot the difference now?! It looks so much nicer after I applied the sparkle coat! By the way, you apply 2/3 of your nail instead of the whole nail.
So usually sparkle coat is used for design purposes instead of applying on the whole nail. ><
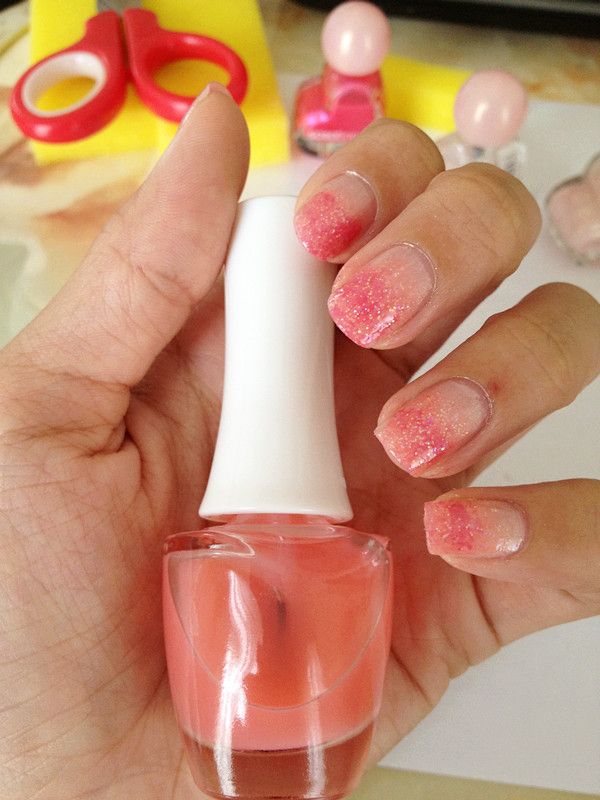
After it dried, apply a clear top coat and is all done! Easy? Is not tough right? Hehe..
So you have your DIY X'mas Glitter Gradient Nail now! If you have blue colour, you can try it though! ^^
You may doubt if you apply such a thick layer is very hard for it to dry, indeed it is but what I like about Sasatinnie nail polish is when you apply the first layer it is very thin and the colour is so light so it can dried easily. Seriously..if it is compared to The Face Shop or Etude House nail polish.
So usually if I apply ordinary nail polish in the same colour with Sasatinnie nail polish, I will apply three layers and it really stays around one to two weeks before it chipped and it is easily manageable for beginners.
By the way if you are using Face Shop or Etude House nail polish to paint it, I am afraid you need to apply the first layer as transparent then the second and third layer you must apply really gently cz the nail polish from both of these brands are actually very heavy.
The added bonus is its made in France. I don't know whether is real or not but this is according to the label la! :p And it is very cheap! Promotion price would be 3 for RM10!! Normal price RM3.90 each!
Cheap or not!! Haha...and this Sasatinnie nail polish can stay so much longer than the ordinary one!
Good luck to all pretties! ^^
Merry Christmas!
********************************************
See la...the trial one..ugly or not! Lol...I have tried a few times and finally succeed on the ring finger so I decided to show you this...:-)
See la...the trial one..ugly or not! Lol...I have tried a few times and finally succeed on the ring finger so I decided to show you this...:-)

No comments :
Post a Comment